


Ready To Go
Kenpachi Zaraki Min Ideal Stats
- 40% Crit Rate
- 150% Crit DMG
- 4500 Attack
- 80% Ailment DMG Bonus




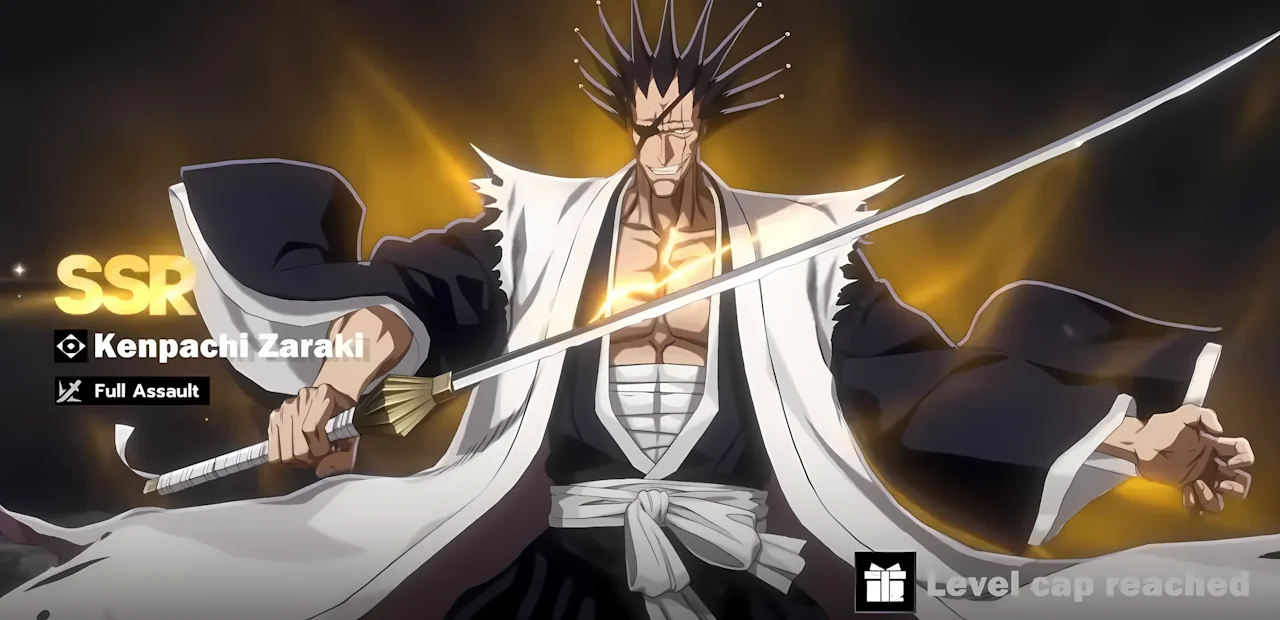
Kenpachi Zaraki in Bleach: Soul Resonance is one of the most misunderstood DPS units in the current meta, and that confusion mostly comes from how differently he scales compared to other characters. At base level, without duplicates, his performance feels underwhelming—especially when compared to units like Bankai Ichigo or Aizen, who deliver strong results immediately. Kenpachi, however, is heavily dupe-dependent, and this is the key reason many players initially consider him weak. Once he reaches at least two duplicates, his kit unlocks the critical rate and special attack scaling needed to function properly, transforming him from a mediocre damage dealer into a high-impact DPS.
His gameplay revolves around a unique Frenzy resource system, which requires deliberate setup to maximize his burst potential. Instead of dealing constant damage like other characters, Kenpachi builds momentum through actions like landing hits, using counters, and activating skills to charge his Frenzy points. These points are then consumed through his charged attacks, which significantly amplify his damage output. This creates a rhythm where proper timing and rotation matter far more than simple button spamming, making him mechanically more demanding but also more rewarding when played correctly.
A major part of his damage comes from chaining his charged basic attacks into empowered skills, rather than relying purely on his Ultimate. His Ultimate does enhance his output by triggering a sustained damage effect—similar to a cleave or continuous AoE pressure—but it’s the synergy between his Frenzy buildup and ability cycling that defines his true damage ceiling. Because of this, stats like Critical Rate, Critical Damage, and additional damage modifiers become extremely important, especially if you’re compensating for the lack of duplicates.
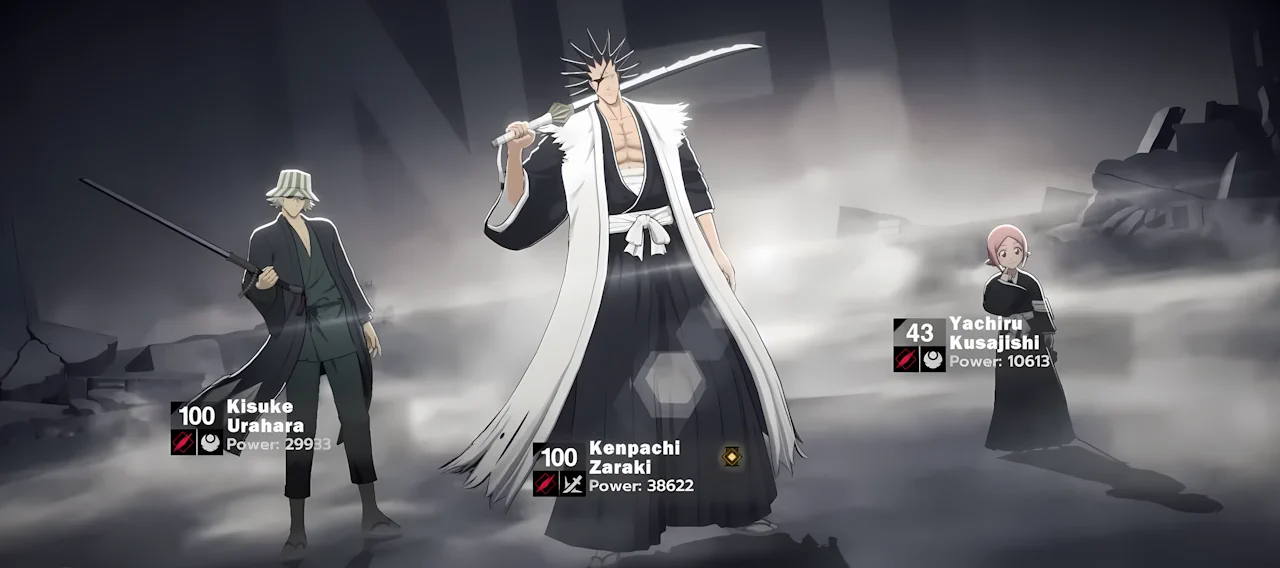
Team composition is another critical factor in unlocking Kenpachi’s full potential. Unlike many DPS units that rely on a tactical support like Byakuya, Kenpachi performs best in a double support setup, particularly with Kisuke Urahara and Yachiru. The correct team can result in a massive damage increase, even if the rotation isn’t perfectly executed.
In practice, Kenpachi rewards players who understand his system and invest properly into him. Poor builds, low critical stats, or missing duplicates will make him feel weak and inconsistent. But once optimized—with the right stats, proper rotations, and an ideal team—he becomes a burst-heavy monster capable of rivaling top-tier DPS units. He’s not a plug-and-play character; he’s a scaling investment. And for players willing to commit, he offers one of the most satisfying damage profiles in the game.
Kenpachi Zaraki Min Ideal Stats



These are the recommended sub-stats for the character. It’s important to note that each piece comes with a fixed attribute: ATK, DEF, and HP. The only things that can vary are the primary sub-stat and the secondary sub-stats. You can view the complete list in our Stamp Set Guide.
The spiritual pressure gained from Special Attacks increases by [100%]. The damage of Special Attacks increases by [50%].
For every 1% Status Damage Bonus, increase the critical rate by [0.5%] , up to a maximum of [30%].
Increases skill levels by [2].
The damage from all severe attacks increases by [30%].
Increases skill levels by [2].
When a monster enters Cleave state, Critical Damage increases by [30%] and Abnormal Mastery increases by [20%] for 30 seconds and stacks up to 2 times.



These are some recommended Bonds. View the complete Bonds Guide for details on all Memory and Regular Bonds.
These are some recommended Teams for this character. Here you can see more Bleach Soul Resonance Teams for any character.

Use Flash Step to avoid attacks right before they hit. Perfect Dodges inflict True Time Freeze for 1.5 seconds, gaining 15% ASPD and 25% MSPD for 4 seconds. Cooldown: 15 seconds. Upon triggering Perfect Dodge, tapping Basic Attack immediately releases the 5th attack of the basic attack chain. If Perfect Dodge is triggered while performing a Special Attack, the 3rd hit of the Special Attack can be released directly.

Kenpachi counters the enemy's attack and slams them to the ground, dealing damage equal to 1000% (1250% at B5) of ATK and gaining 1 point of Frenzy.
Kenpachi wields his Zanpakuto to strike 5 times, dealing damage equal to 696% (870% at B5) of ATK to the enemy ahead, and gains 1 Frenzy when the last strike lands.

Kenpachi slashes at the enemy with overwhelming power. Each hit deals damage equal to 98% (122.5% at B5) of ATK and builds Ultimate Energy. When the Ultimate Energy is nearly full again, he unleashes a heavy strike dealing damage equal to 508% (635% at B5) of ATK.
(Tap and hold Basic Attack when there's enough Frenzy) Kenpachi lunges forward with unstoppable momentum, slashing the enemy multiple times. Tapping Basic Attack again or holding it unleashes a powerful follow-up slash, dealing 5 hits for a total damage of 1314% (1772.5% at B5) of ATK as his Spiritual Pressure surges violently.

Kenpachi charges forward with his Zanpakuto and deals damage up to 252% (315% at B5) of ATK to all enemies in his path. Upon taking a hit or completing his charge, he lunges forward with a powerful thrust, dealing damage equal to 992% (1240% at B5) of ATK and gaining 1 point of Frenzy.
Kenpachi dashes to the target and releases a torrential surge of Spiritual Pressure, blasting them skyward before smashing the ground for a total damage of 276% (345% at B5) of ATK. Afterward, time briefly stops. Tap Basic Attack to perform a follow-up attack that deals damage equal to 276% (345% at B5) of ATK in a large area. Tap Basic Attack again after the first follow-up attack to release a second one, dealing damage equal to 550% (687.5% at B5) of ATK. Each follow-up attack consumes Spiritual Pressure. Dodging or waiting too long ends the Spiritual Pressure Burst.

Kenpachi removes the eyepatch and fully unleashes his Spiritual Pressure, slashing the enemy and dealing damage equal to 2034% (2542.5% at B5) of ATK. He then enters the War Wraith state for 15 seconds. During this state, his basic attacks are greatly enhanced and can still generate Ultimate Energy, but techniques cannot be used.
Kenpachi grips his Zanpakuto with both hands and delivers a devastating strike, dealing damage equal to 3396% (4245% at B5) of ATK and ending the War Wraith state.

Kenpachi's Special Attack, Spiritual Pressure Burst, and Ultimate are Sever attacks that apply Sever Points to the enemy. Upon reaching 100 Sever Points, the enemy will be inflicted with Cleave. Applying Sever Attacks to a Cleaved enemy deals extra Cleave DMG equal to 20% of that attack, which counts as Ailment DMG, but no longer applies Sever Points.

While Kenpachi is using Special Attacks, Spiritual Pressure Burst, or his Ultimate, his damage taken is reduced by 60%, and interruption resistance is increased.

After the battle begins, Kenpachi gains 1 stack of Excitement every 2 seconds. Each stack increases his ATK by 2.5%, stacking up to 10 times.

Acquiring Frenzy increases the damage of Kenpachi's Special Attacks by 90% for the next 15 seconds. Kenpachi gains 1 Frenzy upon defeating an enemy.